Acceleration
Overview
Age Range: 11 – 14 years old
Students will investigate the acceleration of a dropped object by combining classic science educational equipment with digital technology. Students will work in groups of 2 or 3 and will record the data using iLOG.
Aims
- To understand how a dropped object accelerates over time.
- To learn how to use data logging equipment.
- To record and save data.
Kit Required for the Sensor
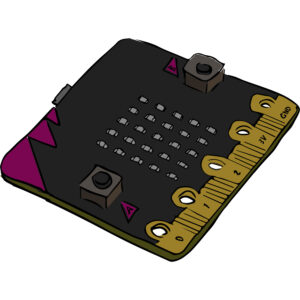
Micro:bit

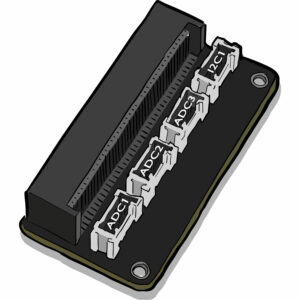
Mini Innovation Board

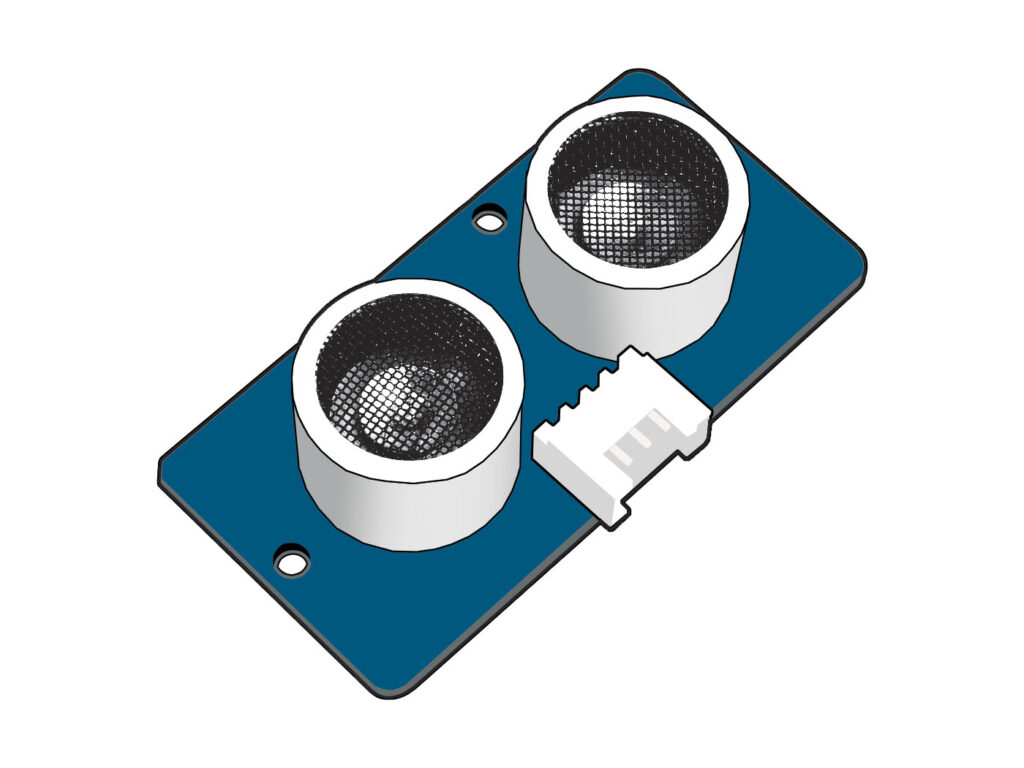
Distance Sensor

- MicroUSB Cable
- 2 x Connector Cable
Apparatus Required
- A Toy Car
- 1m Track
- Clamp Stand
- Protractor or Spirit Level
- Duct Tape or a suitable adhesive component
CAUTION
WHEN CONDUCTING THIS EXPERIMENT ENSURE APARATUS IS SECURE AND ANY DROPPED OBJECTS ARE SAFELY CONTAINED TO AVOID DAMAGING EQUIPMENT.
Preparation
The Sensor
- Connect the micro:bit to the Mini Innovation board via the edge connector.
- Connect the Distance Sensor to the ADC1 connector on the mini innovation board.
- Connect the micro:bit to a computer via the microUSB cable.
Getting iLOG Ready
- If this is your first time using iLOG we recommend following our Guide to setup your micro:bit for data logging activities.
- Once the micro:bit is setup in step 1 you can now configure the datalogging settings.
- First you need to select Collecting Data. We are telling iLOG and the micro:bit we wish to gather data from them.
- Then Select Logging from sensors. This allows us to log directly from the micro:bit over USB. Note you can also log remotely by using a battery pack.
- Now we need to select the sensor we have connected.
- Click on the Sensors Box. This will open a new popup window.
- Tick ADC1 and in the dropdown select Ultrasonic Distance Sensor (cm). This can be found under MicroMaker.
- Now we need to set how long we want to log for.
- For this experiment we selected 2 seconds as the time may vary depending on your equipment.
- Now all the configuring is done its time to click Ready.
The Apparatus
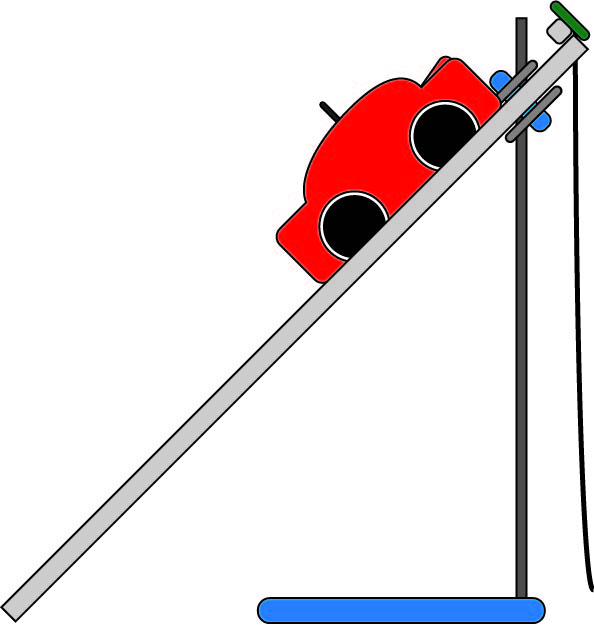
- Use the illustration to set up the apparatus.
- Secure the Ramp to the Clamp Stand at an appropriate angle (30 degrees initially) which you may wish to measure with a protractor tool or spirit level to ensure consistency.
- For securing the micro:bit and Distance Sensor to the track or clamp stand use an adhesive component such as Duct Tape or Blu Tack as necessary.
- Ensure that the Distance Sensor is not obstructed.
- Ensure that the ramp landing area is contained such that the car does not fall from a raised surface, alternatively conduct the experiment on the floor.
Datalogging
Now you should have everything setup and ready to go. Below is a check list make sure you are happy and have everything ready to go.
- Micro:bit setup with Distance Sensor connected to ADC1.
- iLOG on its main graphing screen with Distance Sensor set to ADC1.
- Apparatus setup as per the diagram.
- Car.
- A suitably contained ramp landing area.
If the above points are all done, then Datalogging can begin.

Activity
- In iLOG you need to locate the start Button. This can be found top left.
- Click the start Button. This will start logging your data.
- You will start to see plots appear on the graph.
- You will also see its current distance appear in the bottom right.
- If it is plotting data and displaying the current distance value should be no less than 1m (100cm).
- Restart the logging.
- Prepare to release the car quickly from the top of the ramp once logging has begun.
- Release the car.
- Once the car has come to a stop ensure that you click stop in iLOG if logging has not ended in time.
Taking it Further
- Conduct an investigation into the effects of variable distance into the acceleration of a dropped object.
- Conduct an investigation into the effects of variable inclination of the slope into the acceleration of a dropped object.
Keep in Touch
We would love to keep in touch with you and as a result aid you along your digital making journey.
Becoming a digital maker subscriber means you will receive exclusive offers and we will keep you up to date with new resources and kits, as well as upcoming events and workshops.
Let us know how your digital education journey is progressing. Send us pictures and videos of your awesome creations and use the hashtag below.
