Pedometer Lesson
Overview
In this activity you will be creating a step counter, (pedometer) to measure the number of steps taken over a period of time. You will learn how to use mulitple inputs to control different aspects of the pedometer whilst developing your knowledge of varibales further.
Aims
- To understand how multiple inputs can be used to control different processes and outputs.
- Gain a further knowledge of variables.
- Use the micro:bit as a wearable device.
Download the Code
MakeCode Editor
Download the MakeCode editor code for this lesson. The hex file is contained in a zip folder.
Refer to our download the code page for instructions on how to upload your code onto the micro:bit. Please use instructions set A.
This code can also be uploaded into the MakeCode editor.
Kit Required
Micro:bit
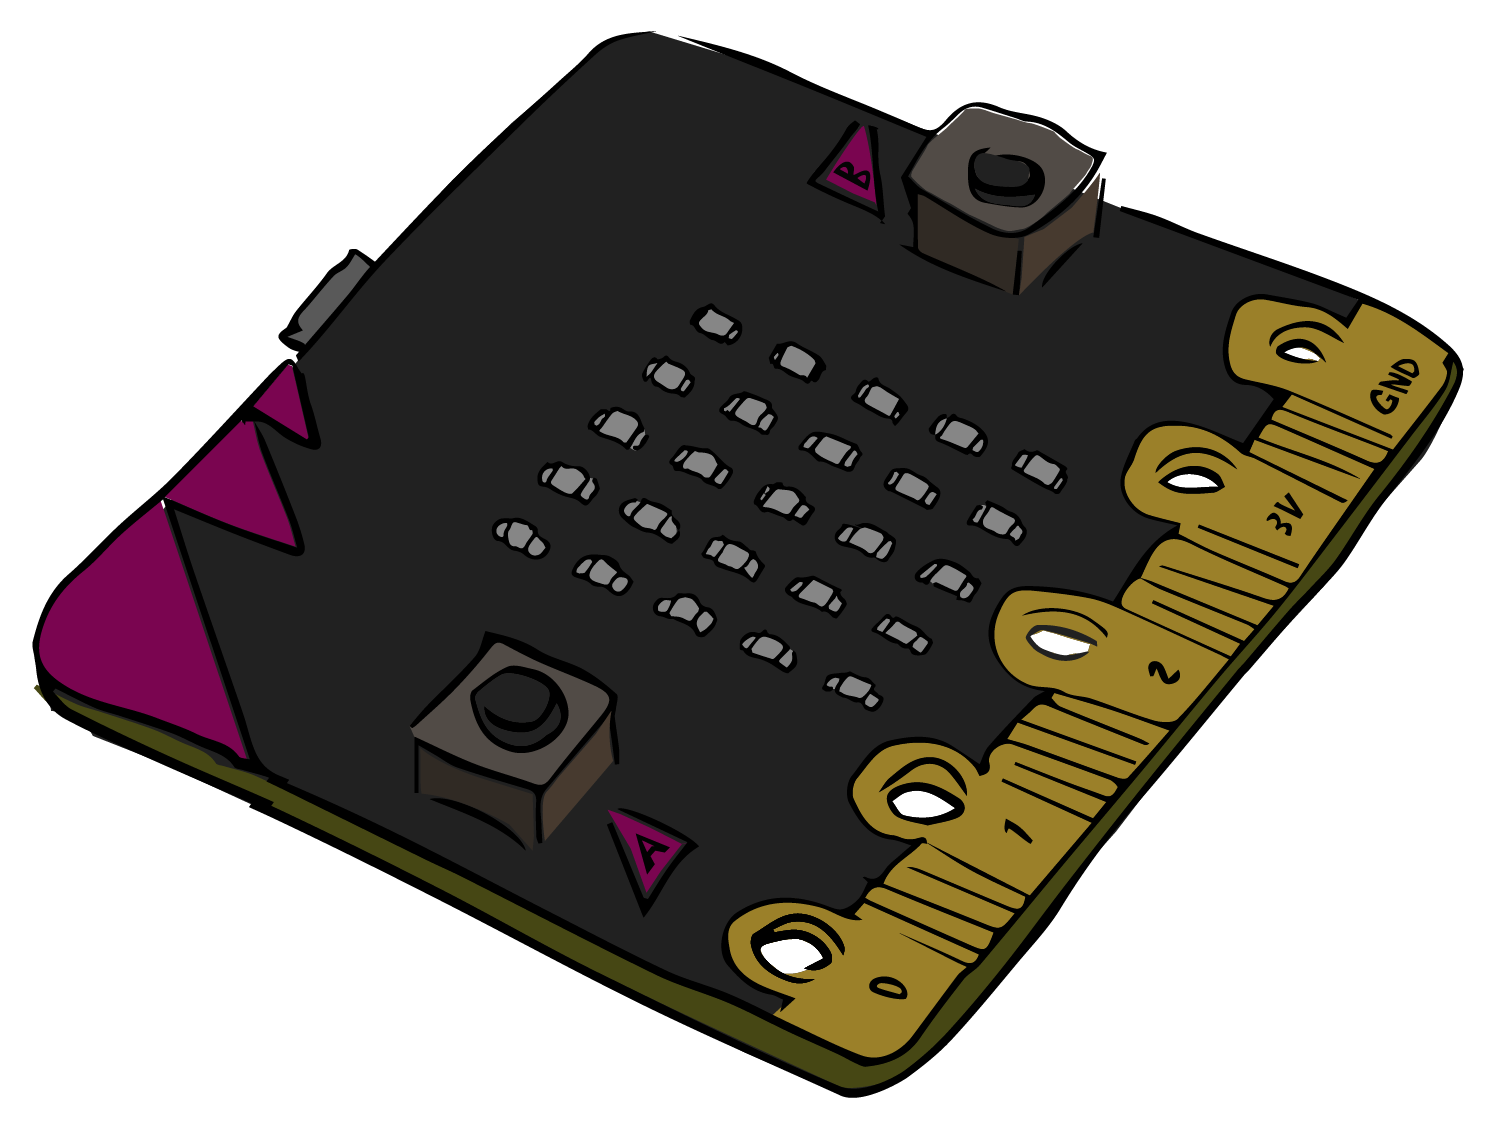
Wearable Kit
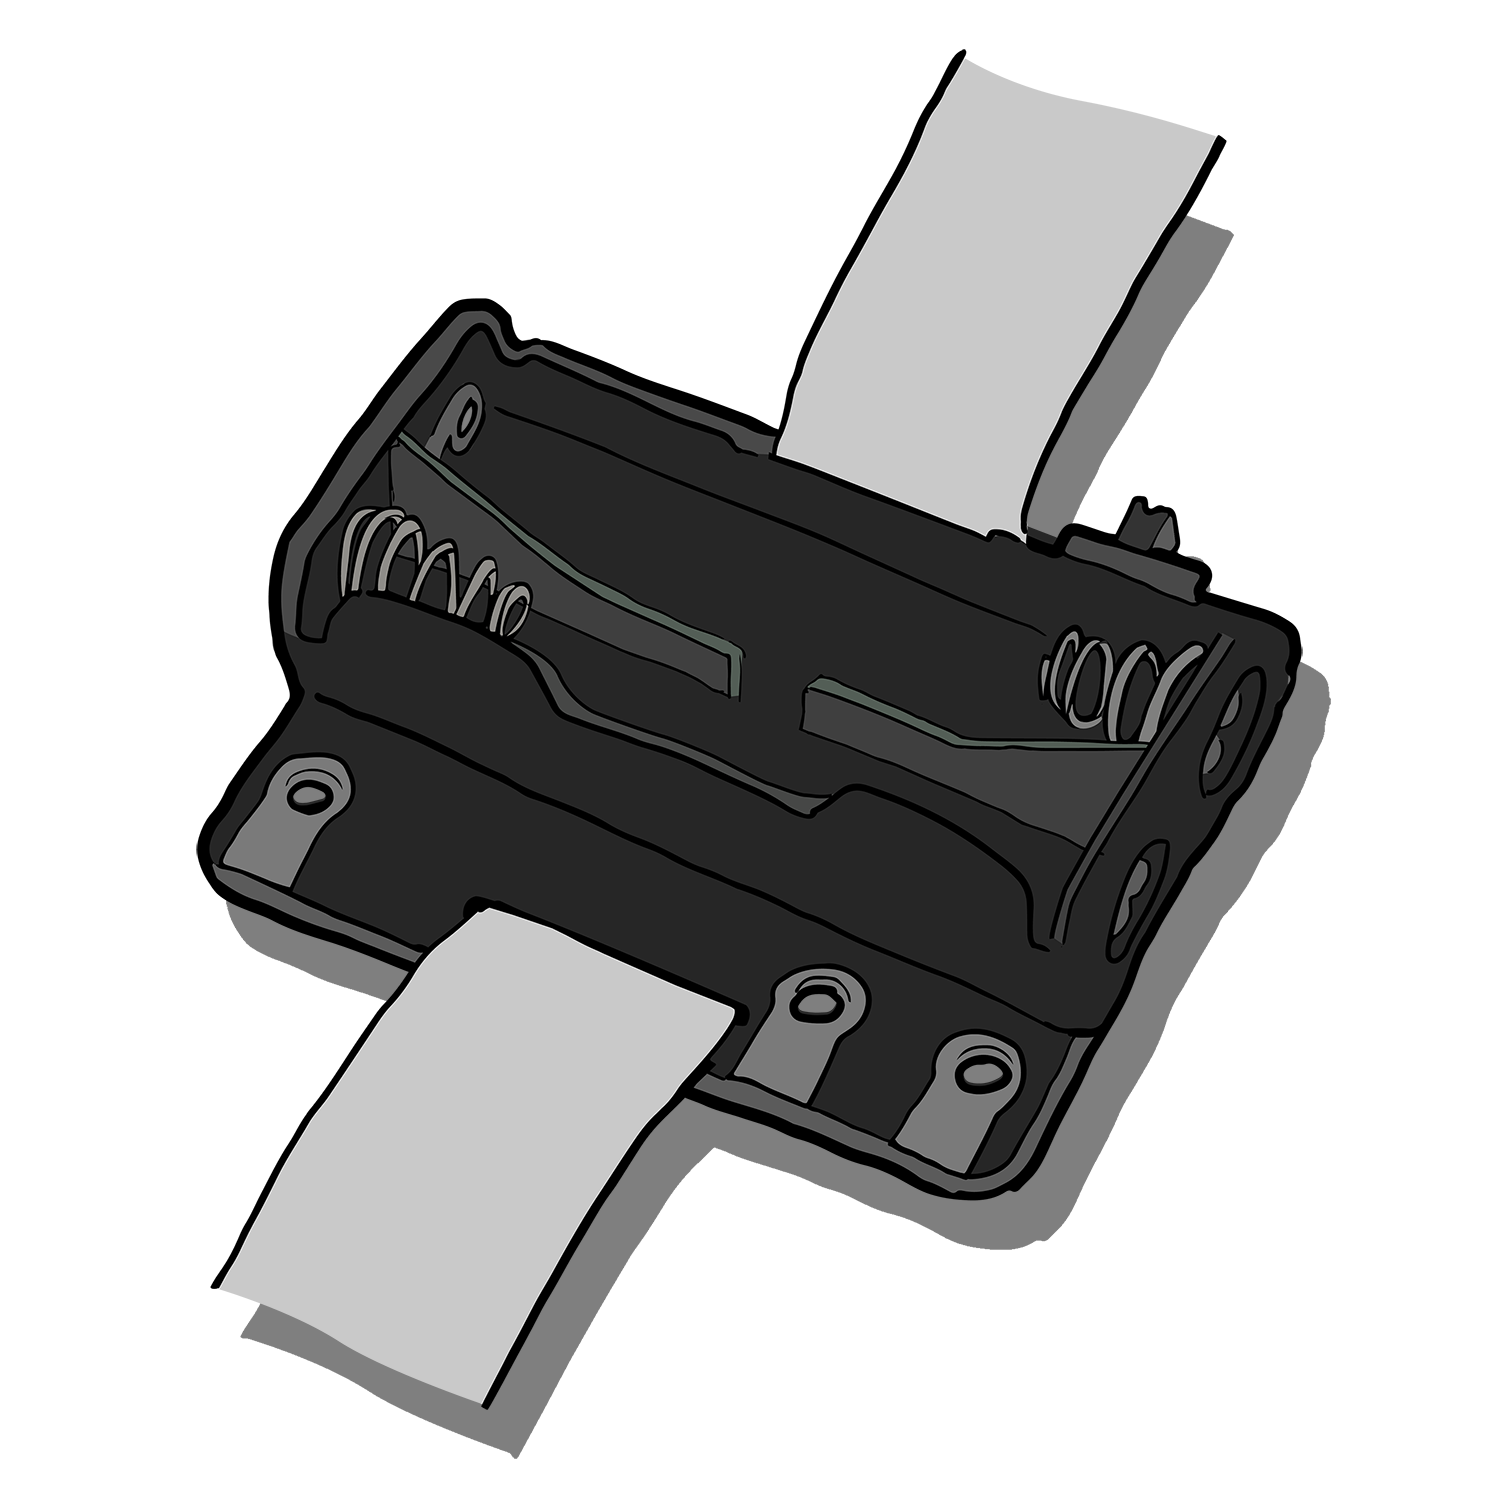
- Micro USB Cable
- 2 x AAA Batteries
Preparation
- Assemble the Wearable kit with the micro:bit. (Click here to find instructions on how to assemble the Wearable kit).
- Connect the micro:bit to a computer via the microUSB cable.
- Go to the MakeCode website on your computer and open a new project.
Time to Code
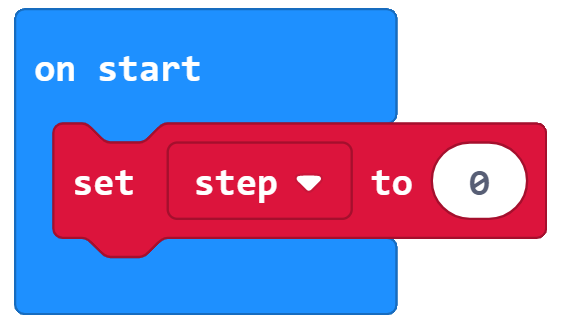
- Begin by selecting the ‘on start’ block from the ‘basic’ tab.
- Create a new variable called ‘step’ in the ‘variables’ tab. Select the ‘set step’ variable and insert it into the ‘on start’ block.
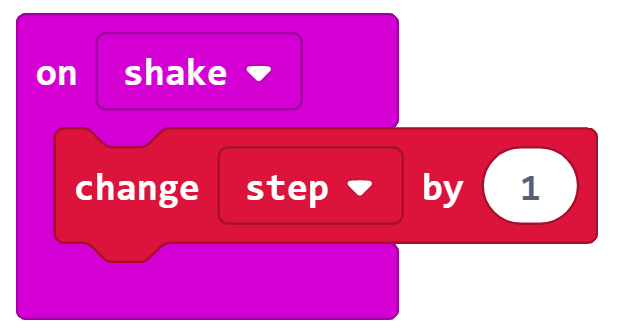
- Now select the ‘on shake’ input block from the ‘input’ tab. Insert the ‘change step’ block from the ‘variables’ tab into the ‘on shake’ input. Then change the number in the ‘change step’ block to 1. This is the trigger for counting each step.
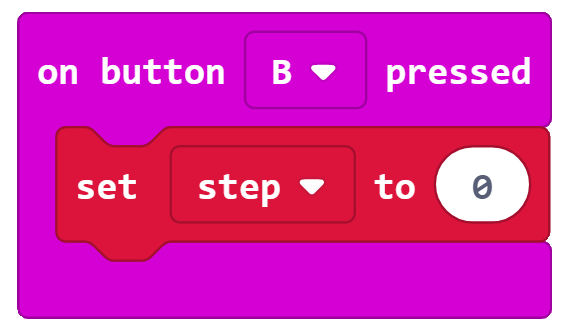
- The next step is to create a reset. Do this by selecting the ‘on button pressed’ input from the ‘input’ tab. Change the button to ‘B’ using the dropdown. Again select the ‘set step’ block from the ‘variables’ tab. Insert this into the ‘on button pressed’ block.
- At this stage you have a starting command, a trigger command and a reset. The final step is to create a command to show the number of steps that you have taken.
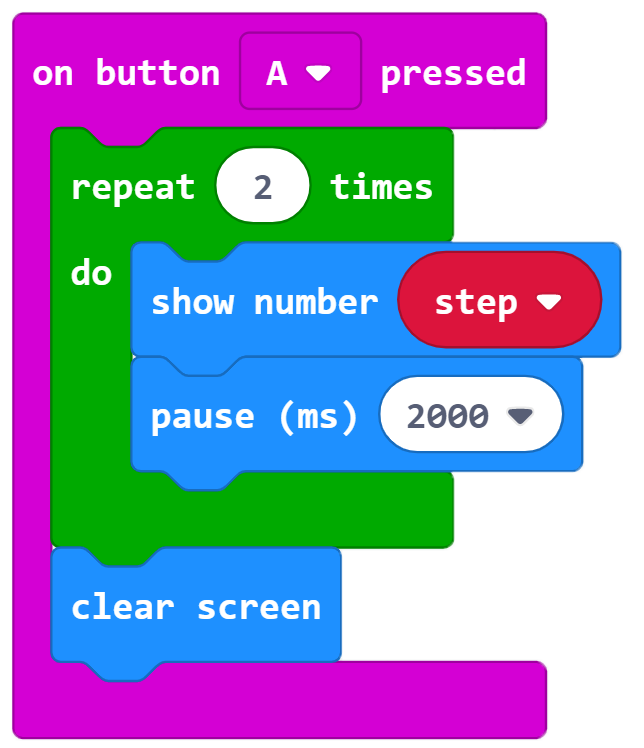
- This will be done using a button A press. Begin by selecting the ‘on button pressed’ block from the ‘input’ tab. The default is set to button ‘A’.
- Next select the ‘repeat x times’ block from the ‘loop tab and change it to 2 times. Insert this into the ’on button pressed’ block.
- Choose the ‘show number’ block and the ‘pause’ block from the ‘basic’ tab. Insert them into the ‘repeat x times’ block. Select your ‘step’ variable from the ‘variables’ tab and insert it into the ‘show number’ block. Change the pause time to 2 seconds.
- Finally add a ‘clear screen’ block underneath the ‘repeat x block.
- The code is now finished! Download your code and upload it onto the micro:bit. The instructions for this can be found on the download the code page. Please use instructions set B.
What Happens
When the micro:bit first turns on the number of steps is set to 0. Everytime that the ‘on shake’ function is activated by a movement the step counter will increase by 1. To view the number of steps taken, press button A. This will display the number on the LED matrix twice before clearing the screen. To reset the step count press button B.
Taking it Further
- Include step targets into your pedometer that alert you once you have reached your target.
Keep in touch
We would love to keep you up to date with all of our latest news, offers and new products.
If you would like to subscribe to our mailing list please click the button below.
Contact Us

ScienceScope Limited
Downside School
Stratton-on-the-Fosse
Radstock
BA3 4RJ
enquiries@sciencescope.uk
