Name Badge Lesson
Overview
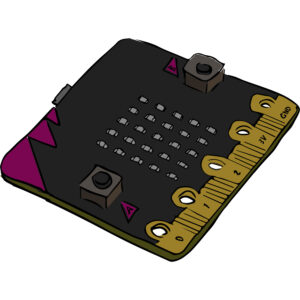
The micro:bit not only offers the ability to learn how to code but also to see how your code works in a practical way. This lesson activity illustrates how the micro:bit can be used to create a name badge using the on board button inputs and LED matrix.
Aims
- Get a basic understanding of how to use the MakeCode editor to programme the micro:bit.
- See how the use of an input can be used to trigger an output.
Kit Required
Micro:bit

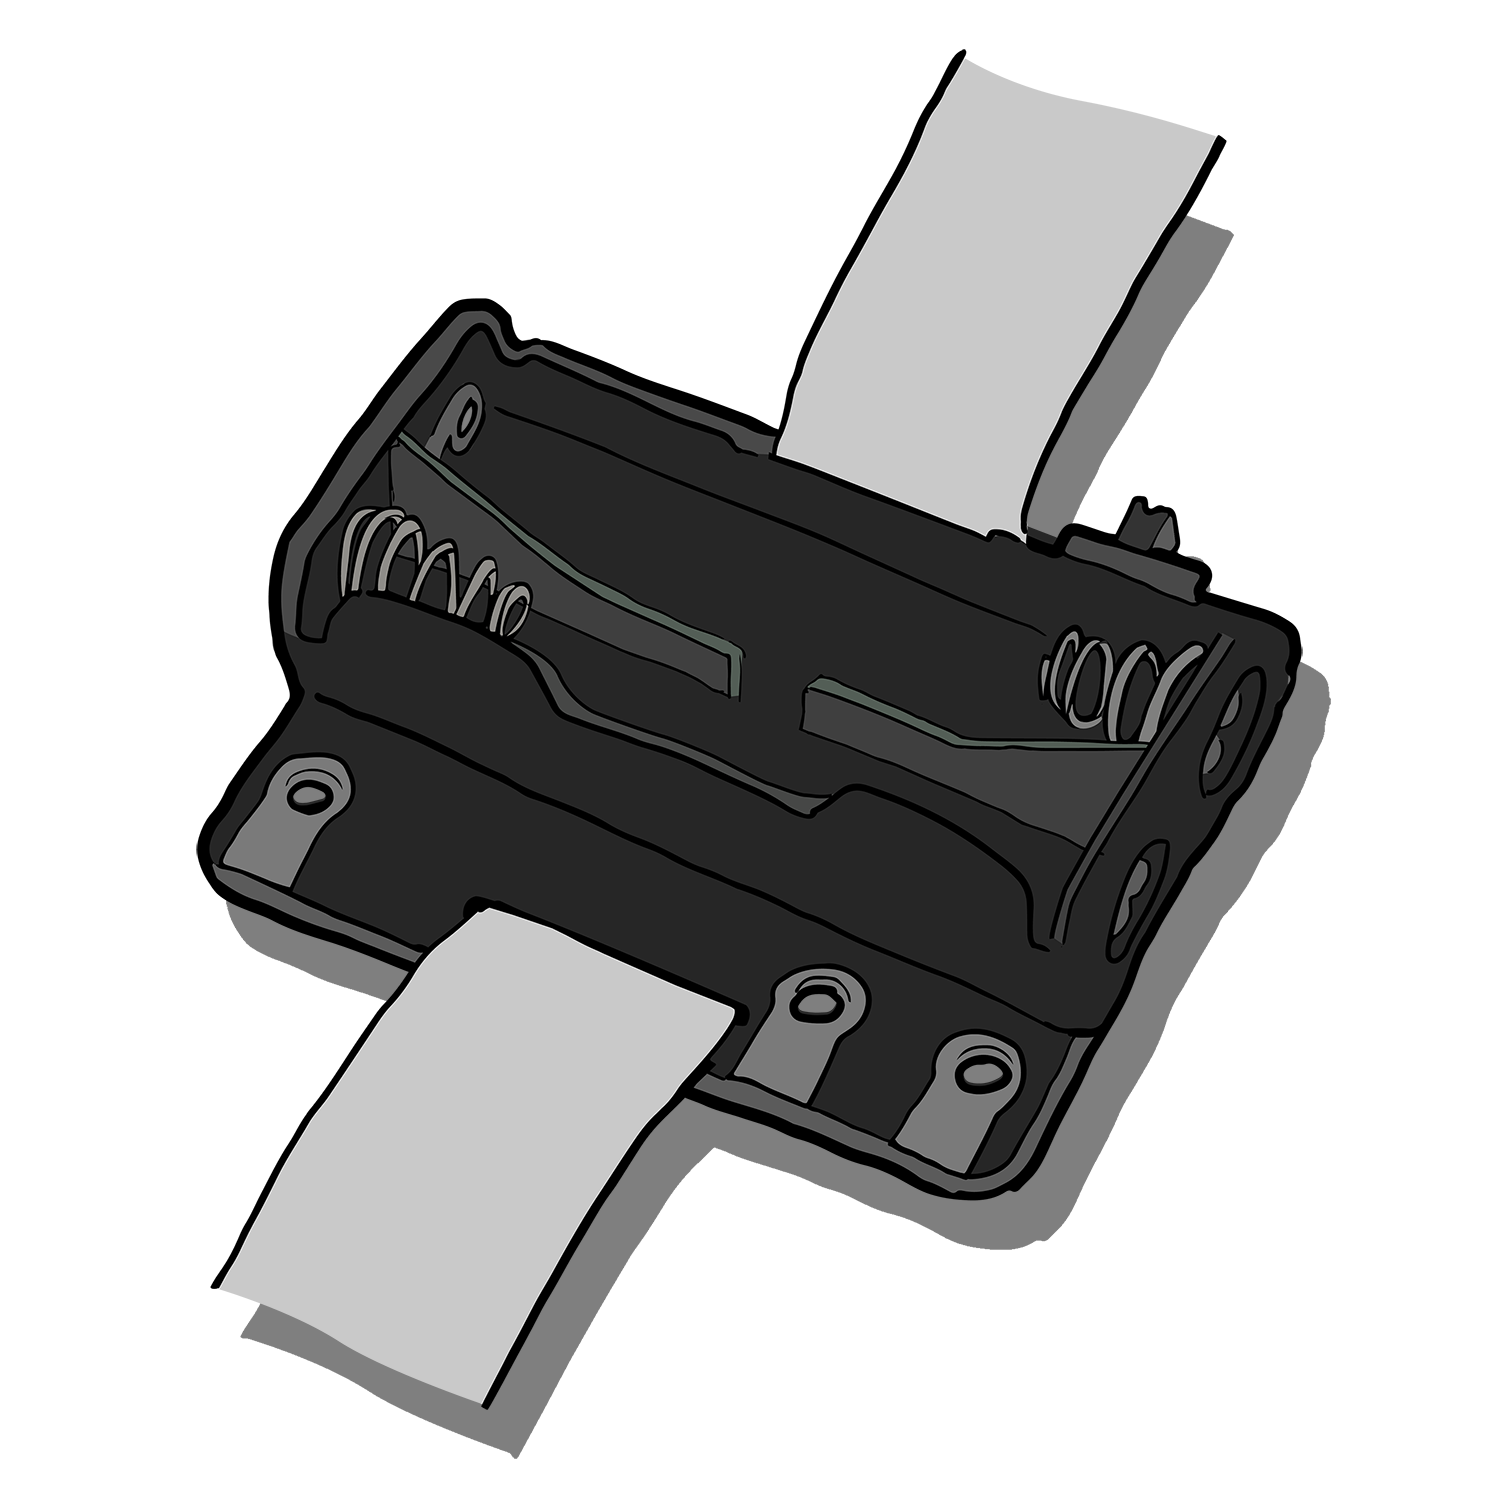
Wearable Kit

- Micro USB Cable
- 2 x AAA Batteries
Download the Code
MakeCode Editor
Download the MakeCode editor code for this lesson. The hex file is contained in a zip folder.
Refer to our download the code page for instructions on how to upload your code onto the micro:bit. Please use instructions set A.
This code can also be uploaded into the MakeCode editor.
Dr Bit Code
Download the Dr Bit solutions for this challenge. The Dr Bit file is contained within a zip folder.
Download Dr Bit PC software.
Download the Dr Bit app with the link below.
Preparation
- Assemble the Wearable kit with the micro:bit. (Click here to find instructions on how to assemble the Wearable kit).
- Connect the micro:bit to a computer via the microUSB cable.
- Go to the MakeCode website on your computer and open a new project.
Time to Code
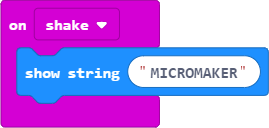
As you go through these steps please note that there is an image of the completed code below.
- All of the blocks required for this lesson can be found in the ‘Basic’ tab and ‘Input’ tab of the MakeCode editor.
- Begin by opening the ‘Input’ tab and selecting the ‘on button pressed’ block. This will be your input. By default, button A is selected.
- Now that you have an input, you can use it to control an output. For this name badge lesson the output will be to display your name on the LED matrix.
- Locate the ‘show string’ block in the basic tab and connect it to your input. Enter your name into the text field.
- The code is now finished! Download your code and upload it onto the micro:bit. The instructions for this can be found on the download the code page. Please use instructions set B.

What Happens
When you press button A on your micro:bit your name will scroll across the LED matrix screen. Once your name has finished the LED matrix will turn off until you press button again.
Taking it Further
- Explore the various inputs that makecode has to offer and try then out on your name badge.
- Create different outputs using the blocks under the basic tab. Try using your name to show numbers or even images.
- Use textiles to create a micro:bit holder that can pin onto a t-shirt to make the name badge more realistic.
Keep in touch
We would love to keep you up to date with all of our latest news, offers and new products.
If you would like to subscribe to our mailing list please click the button below.
Contact Us

ScienceScope Limited
Downside School
Stratton-on-the-Fosse
Radstock
BA3 4RJ
enquiries@sciencescope.uk

